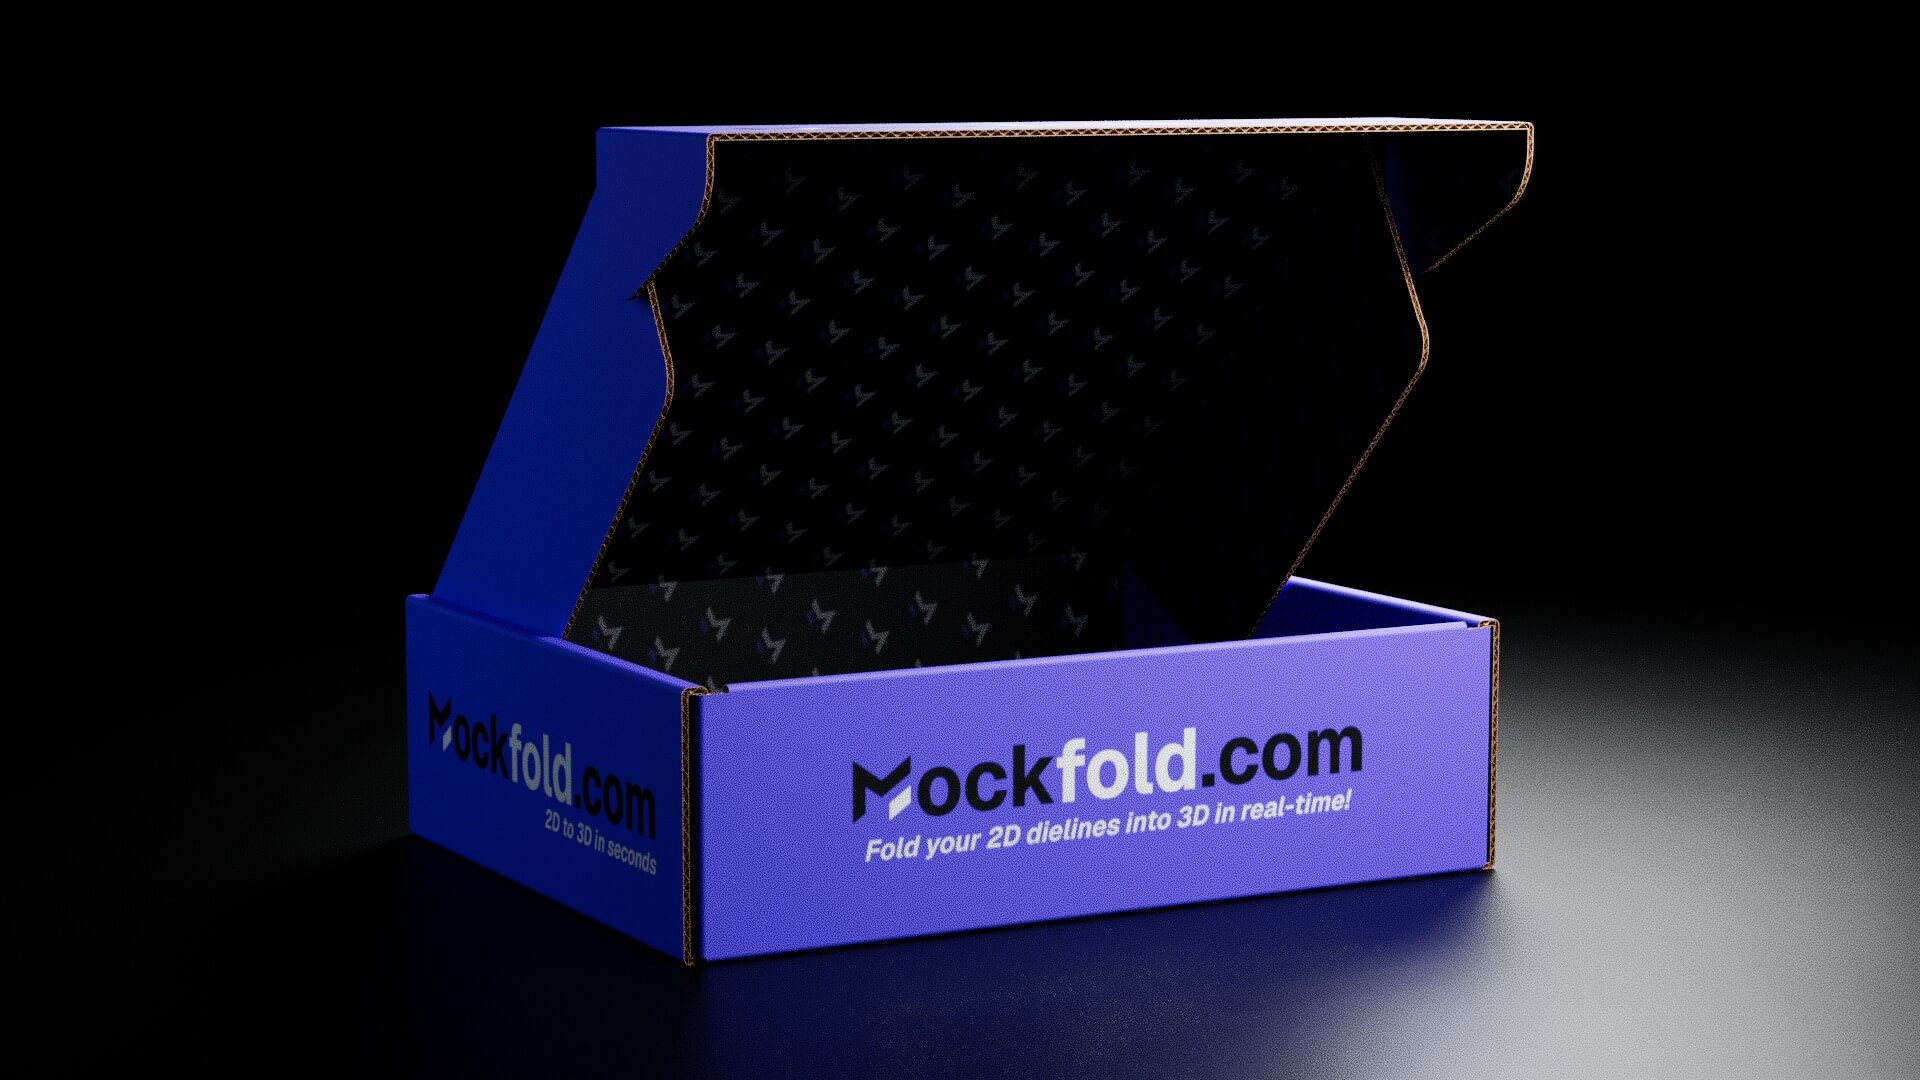
There is a moment in almost every packaging project where the file is done but the work isn't. You have a dieline. The artwork is finished. And now you need to show someone, a client, a boss, a marketplace listing, what the thing actually looks like as a real, folded, three-dimensional object sitting under nice light.
For most designers that moment kicks off a small scavenger hunt. Print a physical sample and wait. Rebuild the box in Blender or Cinema 4D, if you know how. Buy a Boxshot license. Hand it to whoever on the team owns the 3D software. Every one of those options costs time or money or both, for what should be a quick step between "design finished" and "design approved."
This post walks through the version of that step that happens in a single browser tab. You start with a flat dieline and you finish with a photorealistic product image you could drop straight onto a website or into a pitch deck. No other software, no install, and no leaving the browser once your dieline and artwork are ready.
The one-tab pipeline, in plain terms
Here is the whole thing before we slow down and do it properly:
- Bring in your dieline (an SVG with the right line conventions).
- Pin a panel and fold it into 3D.
- Wrap your artwork onto the faces.
- Pick a material so it reads like real cardboard.
- Open Render Studio, light it, and frame the shot.
- Export a finished image, a transparent PNG, a fold video, or a 3D model.
The part that is genuinely different from most browser tools: steps 5 and 6. A lot of tools will fold a dieline for you. Fewer will take that folded box and give you a path-traced, studio-lit render at the end of the same session. That last stretch, the one that turns a "3D preview" into "a photo you'd actually publish", is the reason this is worth doing in one place instead of three.
Step · 01
Start with a clean SVG
MockFold reads SVG dielines. Cuts are solid black strokes, folds are red dashed strokes. The editor detects them automatically by stroke colour and dash pattern, so you do not tag anything by hand and you do not name layers a specific way. The visible stroke is what matters.
If your dieline came out of Illustrator, ArtiosCAD, Affinity, or Figma, it will work as long as those two stroke conventions are in place. Export the SVG using the artboard as the region, not "artwork bounds" or "selection." MockFold reads the SVG's viewBox to position panels and line up artwork later, and an SVG exported by artwork bounds has a different viewBox than the artboard you designed in. Get this right once and everything downstream lines up; get it wrong and your artwork lands offset on the panels.
Step · 02
Pin a panel, then fold
Pick the panel that should stay flat, the bottom, and pin it. Every other panel folds around that one. Then drag the fold slider from 0 to 100 percent and watch the flat shape rise into a box in real time.
This is the satisfying part, and it is also the part that earns trust with a client in about four seconds. A flat file is abstract. A box folding up on screen is not. If you picked the wrong bottom panel and the fold looks strange, you re-pin a different panel and the whole fold re-roots instantly. No undo spiral.
If you want a fold animation later, for a launch video or a deck, you do not need to keyframe anything by hand. The video export records the slider sweep for you. Keyframes exist if you want fine control over specific poses, but for "show the box assembling itself," the automatic sweep is enough.
Step · 03
Drop artwork onto the faces
Upload a PNG or JPG for the exterior, the interior, or both. Because MockFold maps the image using the same viewBox as your dieline, artwork you designed at the dieline's real dimensions lands pixel-aligned on every panel.
This is where the artboard discipline from Step 1 pays off. Export your artwork file from the same artboard as the dieline so the two share dimensions. If you export the artwork by "artwork bounds" instead, it will scale or shift against the dieline and the panels will not line up. Same artboard for both files, every time.
A practical note on file size: a 2000-pixel-wide PNG is plenty for working preview and keeps the editor responsive. Save the enormous hero-resolution file for the final export, not for the version you are dragging around while you fold.
Step · 04
Make it read like real stock
Choose corrugated, paperboard, or kraft. Each has its own thickness, surface texture, and edge profile, and each changes how light behaves on the box.
This step does more than it looks like it does. The difference between a generic "3D box" and something that reads as real packaging is largely the material. Paperboard at 1mm reads like retail folding-carton stock. Corrugated at 3mm with a 6mm flute reads like a B-flute shipper, right down to the fluted edge showing at the cut lines. If you are mocking up a cosmetics carton, paperboard. If it is a shipping mailer, corrugated. Picking the honest material here is what sells the render later.
Up to this point you have a clean, textured, folded 3D box. Good enough for an internal review. Not yet good enough for a product page. This is the step that closes that gap, and it is the one most browser tools simply do not have.
Step · 05
Light the shot
Open Render Studio from the Export tab. Pick a lighting preset, then frame the camera. The path tracer renders real studio lighting, soft shadows, depth of field, reflections, the works, live on your own GPU.
The presets are built around the shots people actually need:
- Pure White is the high-key, e-commerce look. This is your Amazon or Shopify listing shot, clean, bright, no distractions.
- Cinematic throws a hard side key and a cool rim light for a dramatic hero image.
- Black Velvet drops the box into deep, moody black, good for premium or cosmetics.
- Softbox is a neutral, bright, all-purpose studio look.
- Halo Backlit, Tech Edge, and Editorial cover warm backlighting, crisp product-edge highlights, and a clean magazine look.
Every preset is a starting point, not a cage. You can push the key, fill, and rim intensity, change the exposure, move the light angle, adjust the backdrop colour, and click any point on the box to set focus for depth of field. You are not picking from eight fixed looks; you are picking a sensible place to start and then dialing it in.
Step · 06
Export what you actually need
From Render Studio, export a PNG or JPEG at the size and aspect you want. Turn on the transparent background and the path tracer knocks out the backdrop, so you get a clean cutout with real soft shadows still attached to the box.
That transparent-PNG option is quietly one of the most useful things here. A cutout product image with proper shadows is exactly what you drop onto a coloured website section, a banner, or a marketplace listing, and getting one normally means either a photo studio or an afternoon of masking. Here it is a checkbox.
Outside of Render Studio, the regular Export tab gives you the rest of the chain in the same session:
- MP4 or WebM of the fold animation, up to 4K, for social posts, launch videos, and decks.
- GLB, glTF, or OBJ if you do want to take the folded model into Blender, Cinema 4D, Maya, or an AR pipeline for final polish. The geometry, panel structure, and artwork all come through, so you are not rebuilding the box from scratch on the other side.
- HTML viewer, a self-contained interactive page you can send a client over a link.
So even the "hand it to the 3D person" workflow gets faster: MockFold does the folding and the base setup, and the 3D model exports clean. The fast first step and the heavy software stop fighting each other.
Where this fits, and where it doesn't
It would be dishonest to tell you this replaces a full 3D and rendering suite for every job. If you are doing a complex hero campaign with bespoke lighting rigs, custom shaders, and a dozen props, that still lives in Blender or Cinema 4D, and it should.
What this pipeline replaces is the slow, expensive middle: the printed sample you waited three days for just to check a fold, the Boxshot subscription you bought to make eight listing images a month, the back-and-forth of exporting and re-exporting to whoever owns the 3D license. For "I need to see this folded," "I need a clean listing shot," "I need a quick fold video for the launch," or "I need to show a client before we print," the whole thing happens in one tab, in minutes, from a flat file.
That is the actual pitch. Not "throw away your 3D software," but "stop opening it for the jobs that never needed it."
Try the whole pipeline
The fastest way to understand this is to run it once. The box editor opens with a starter dieline already loaded, and the entire pipeline, fold, artwork, material, and Render Studio, is unlocked for free on that demo project. You can take a box from flat to a finished render without signing up or uploading anything.
When you want to run it on your own dielines and export watermark-free files, that is where the Pro tier comes in: Render Studio on your own files, 4K and 1200 DPI exports, video, 3D model formats, and the HTML viewer. The editor stays free for the full prototyping flow either way, so you can prove the whole thing works before you pay for anything.
Common Questions
Can I really go from dieline to a finished product image without other software?
Yes, as long as your dieline and artwork start as files. You prepare the SVG dieline and the artwork in your design tool of choice, and from that point on, folding, materials, lighting, and the final render all happen in the browser. The only thing MockFold does not do is create the original vector artwork; everything after that is in one tab.
Do I need to know Blender or any 3D software?
No. The point of this workflow is that you do not. You pin a panel, drag a slider, drop in artwork, and pick a lighting preset. If you later want to take the model into Blender or Cinema 4D for advanced work, you can export a clean GLB or OBJ, but that is optional, not required.
What makes the final render look photorealistic?
Render Studio uses a path tracer that runs on your GPU, the same family of technique used in offline 3D renderers, which produces real soft shadows, reflections, and depth of field rather than a flat preview. Combined with honest materials (corrugated, paperboard, kraft) and studio lighting presets, the output reads like a product photo rather than a 3D screenshot.
Is the final image good enough for an Amazon or Shopify listing?
For most listings, yes. The Pure White preset is built for exactly that high-key, clean-background look, and the transparent PNG export gives you a cutout with shadows you can place on any background. For a flagship campaign with custom art direction you may still want a full studio render, but for standard listing imagery this covers it.
Does the photorealistic render work on my phone?
No. Render Studio needs a desktop with a real GPU and a viewport at least 1024 pixels wide. Folding, artwork, and the basic 3D preview work on smaller screens, but the path-traced render is desktop-only because mobile hardware cannot run it well.
What does it cost?
The editor is free for the entire prototyping flow, and the full pipeline including Render Studio is free to try on the demo project. You move to a paid tier when you want to run it on your own files and export without a watermark. See pricing for the current tiers.